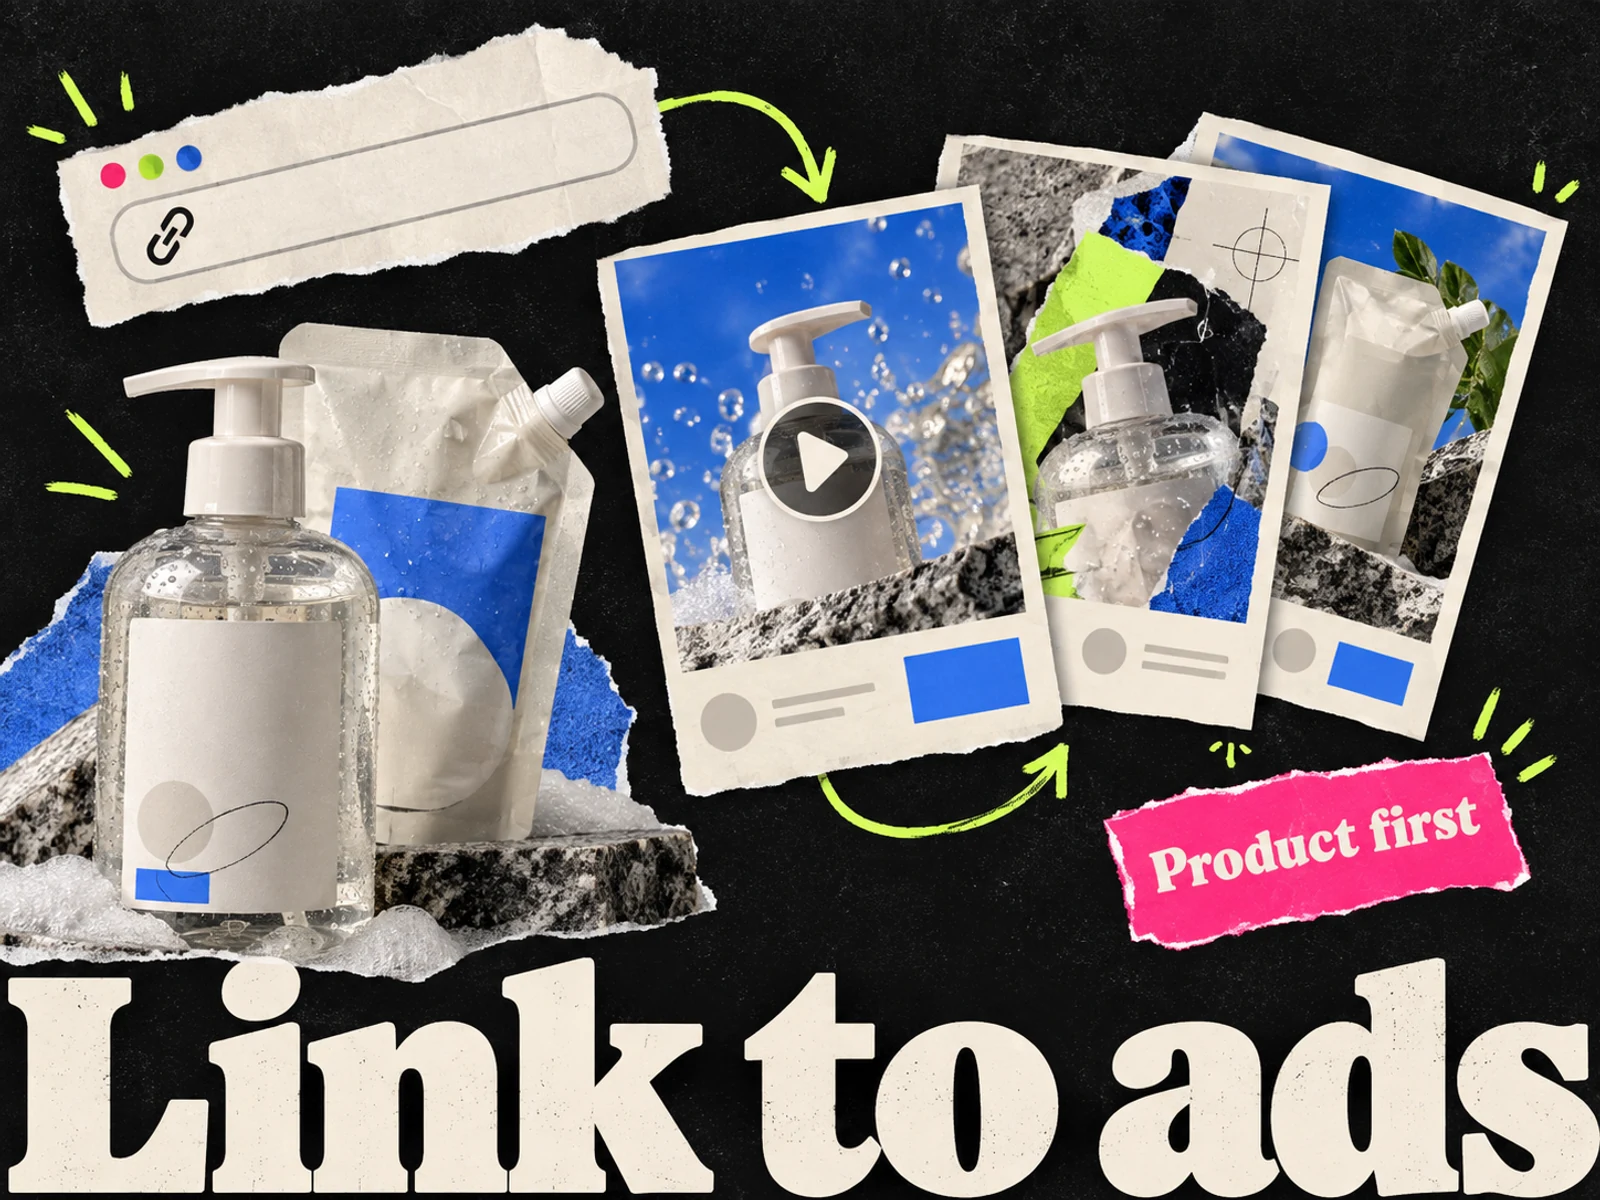
To turn a Shopify product URL into Meta ads, use the page as the source for the product and brand, then confirm the offer, select a buying reason, and review the creative before launching. In Adrio, Spark connects product context to static and video generation. It can publish both image and video ads directly to Meta with approval by default.
This guide covers the product-link workflow. It does not describe a Shopify app installation, catalog synchronization, or automated inventory integration. A readable product page is an input to the brief, not a complete campaign strategy.
What to prepare before pasting the link
A product page can contain several variants, old promotional banners, customer reviews, and dense technical descriptions. Those details need interpretation before they become ad copy.
Choose the actual SKU, destination URL, product image, current price, approved offer, and target market. If an important fact is missing from the page, provide it explicitly. Keep uncertain statements out of the first brief.
| Input | Check before using it in an ad |
|---|---|
| Product image | Matches the SKU, packaging, and variant you will sell |
| Price and offer | Valid on the destination page for the intended customer |
| Benefit | Supported by the product and approved by the brand |
| Review or testimonial | Approved for this use with accurate wording and context |
| Brand assets | Current logo, colors, and approved visual references |
| Destination | Opens the correct product or offer page |
For example, a refillable hand-wash brand might sell a starter bottle and refill pouches on one page. If the ad features the starter bottle, make sure the headline and destination do not imply the refill price applies to the whole starter kit.
Step 1: ask Spark to confirm the product context
Share the product URL and identify the item you intend to advertise. Ask Spark to summarize what it understands before asking for a batch of creative.
Read this product page for our starter hand-wash kit. Summarize the product, included items, current offer, and benefits supported by the page. Flag missing information. Do not generate ads yet.
Review the summary against the page. Correct the SKU, included items, offer, or claim before continuing. Importing context quickly is useful only if the resulting brief is accurate.
If the page is difficult to read or has several variants, supply the approved text and photographs directly. The objective is a dependable input, not getting every fact extracted automatically.
Step 2: decide what the first test should teach you
The product may have several valid selling points. Choose a small set of different reasons to buy rather than asking for cosmetic variations of one message.
For the hand-wash example, one concept could explain the refill process. Another could show how the bottle fits a particular bathroom setting. A third could present the kit as a gift, if the packaging and offer support that use.
Ask for a concept summary before generation:
Propose three distinct buying reasons for this starter kit. For each, give the audience situation, opening message, visual idea, and proof we would need. Keep the current offer unchanged. Separate a new concept from a layout variation.
Pick directions the brand can demonstrate. If a suggestion needs evidence you do not have, collect the evidence or choose another idea. The ad-angles guide explains how to separate the angle from its visual execution.
Step 3: choose static or video for the idea
A simple offer or product comparison may work as a static. A refill demonstration gives movement a clear job. Do not convert every concept into video simply because the tool supports it.
For a static, state the product treatment, headline, proof, CTA, and placement. For a video, state the opening, scene sequence, approved spoken claims, captions, and desired end frame. Spark can write scripts, generate clips, and add captions, but the team still reviews the result.
Use the static-versus-video guide when the choice is unclear. Keep the message recognizable across formats, but do not assume the same composition works in every placement.
Step 4: generate a contained first batch
Start with the concepts you can review and fund. Generation consumes credits, and revisions also count toward usage. Review the displayed generation cost before approving work and consult the current pricing details.
Make one static draft for the refill-process concept using our approved bottle photo. Keep the kit contents and offer unchanged. Use a clear opening and leave room for a readable CTA. Show the generation cost before proceeding.
For video, request a simple sequence with a clear purpose for each scene. A short brief such as “show opening the pouch, refilling the bottle, then the kit” is easier to review than a prompt demanding unrelated visual effects.
One approved execution is a better starting point than a large batch whose product details all need correction.
Step 5: review and revise the actual asset
Inspect packaging, copy, product proportions, offer wording, and composition. For video, check every scene and caption. Listen for statements that were not in the approved brief.
Use the studio for image-ad corrections and Spark for directed changes. Request one clear change at a time when you need to preserve most of the draft.
Keep the product and layout. Replace the headline with the approved refill message. Do not change the offer or add a new benefit.
Review placement versions as actual files, not just a central preview. Protect the product and key text from cropping and interface overlays. The Meta sizes guide covers the placement checks.
Step 6: approve the image or video ad launch
Connect the intended Meta account and inspect the launch proposal. Verify the account, page, destination URL, creative, campaign settings, and budget. Spark asks before supported publishing and spend-affecting actions by default.
Keep a generated asset and a live campaign as separate states. Approving generation does not mean you have approved a launch. Spark can publish either image or video ads directly to Meta after you approve the launch proposal.
Assign the launch owner before making the creative. An approved export waiting in a folder does not begin a test.
Step 7: turn the result into the next question
Record which concept each ad represents. When results are available, review the delivery, spend, conversion definition, and relevant date range before asking Spark what to make next.
For the refill example, a useful observation might concern whether people respond to the demonstration or the setting. It is still a hypothesis until the account has enough relevant evidence. Avoid treating a low-delivery draft as a failed concept.
Use the performance-to-next-test workflow to write the next brief. Keep the approved product context and change the part you actually want to investigate.
Frequently asked questions
Can I make ads from a Shopify link without a Shopify app?
This workflow uses the product URL and supplied assets as brief inputs. It does not require the catalog synchronization or Shopify app integration described by other products.
Does a product link provide enough information for an ad?
Sometimes, but you still need to confirm the SKU, offer, approved claims, destination, and testing objective. Supply missing facts directly.
Can Spark publish the generated video to Meta?
Yes. Spark can publish both image and video ads directly to Meta with approval by default.
What should I do first in Adrio?
Bring one product URL and ask Spark to confirm the brief. Choose a concept and review the cost before generating. Start the workflow in Adrio.